

There is a moment when homemade kimchi stops looking like a bowl of seasoned cabbage and starts behaving like kimchi.
You may hear a tiny hiss when you loosen the lid or notice a few bubbles tucked between the cabbage leaves. The sharp garlic and ginger aroma becomes deeper, tangier and unmistakably fermented.
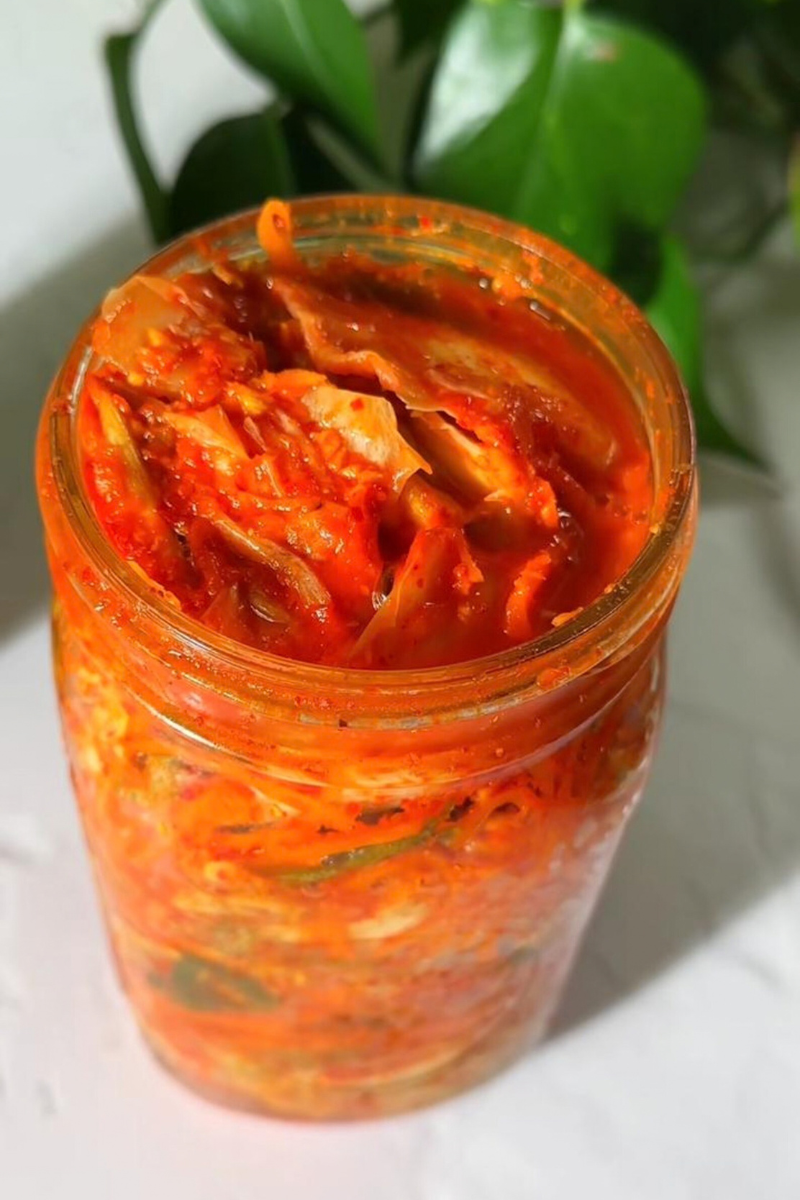
If you've never fermented anything before, that first jar can feel a little intimidating. Is it supposed to bubble? How long should it sit out? How do you know when it's ready?
We'll answer all of that as we go.
This easy homemade kimchi combines Napa cabbage, daikon, carrot and green onions with a garlicky, gingery gochugaru paste. It's an approachable Western-style kimchi designed to teach you the basic process — salt, season, pack, ferment and refrigerate — so you understand what's happening inside the jar rather than simply waiting and hoping.
And once you've made your first batch, you'll see that the hands-on part is surprisingly simple.
If you're planning dinner around it, try it alongside my Korean Chicken and Cabbage Skillet. The warm savory chicken and cabbage are especially good against cold, tangy kimchi.
⭐ Quick Answer: How Do You Make Homemade Kimchi?
Homemade kimchi starts by salting Napa cabbage to draw out moisture and soften the leaves while helping them retain their characteristic texture.
Rinse and drain the salted cabbage, prepare the daikon, carrot and green onions, then make a spicy seasoning paste with garlic, ginger, gochugaru, fish sauce, soy sauce and sugar.
Mix everything thoroughly, pack the seasoned vegetables into a clean glass jar, press them down, and allow the kimchi to begin fermenting at room temperature before transferring it to the refrigerator.
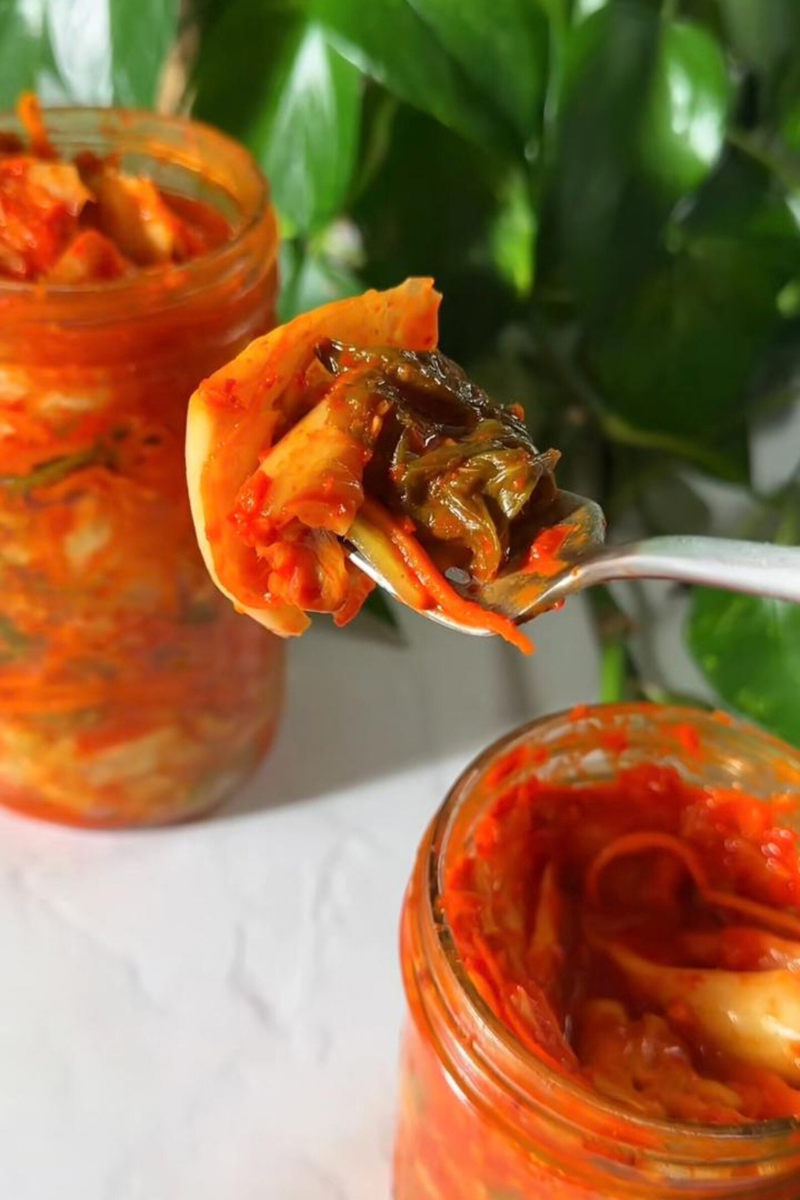
The basic progression is:
Cut → salt → rinse → make the paste → mix → pack → ferment → refrigerate.
That is the whole process.
The part that requires judgment isn't complicated cooking — it's learning to recognize when your kimchi has reached the tanginess you like.
📋 RECIPE AT A GLANCE
| Difficulty | Easy |
| Prep Time | About 30 minutes, plus salting |
| Fermentation | About 1–2 days at room temperature, then refrigerate |
| Yield | About 1 large jar |
| Texture | Crisp-tender cabbage and vegetables |
| Flavor | Tangy, garlicky, savory and spicy |
| Best Tip | Don't rush or skip the cabbage-salting step |
| Best For | Rice bowls, fried rice, eggs, grilled meats and quick savory meals |
❤️ Why You'll Love This Homemade Kimchi
What I like about this recipe is that it removes some of the mystery without removing the character of kimchi.
You don't need specialized fermentation equipment. A clean glass jar, a large bowl and ordinary kitchen utensils will get you there.
You also have some control over the finished flavor. Use less gochugaru for a gentler batch, add more garlic if that's your thing, or leave out the fish sauce for a plant-based version.
Most importantly, you're learning a method rather than simply following instructions.
Once you understand why we salt the cabbage, why the vegetables need to stay packed down and why fermentation time isn't identical in every kitchen, making the next jar becomes much more intuitive.
🥬 What Is Kimchi?
Kimchi is a Korean preparation of salted and fermented vegetables. There are hundreds of variations, and ingredients, season and regional traditions can all influence the finished kimchi. Napa cabbage, radish, green onion, garlic, ginger and Korean red pepper are common components of cabbage kimchi.
Fermentation is what creates that characteristic sour, complex flavor.
Naturally occurring microorganisms on the vegetables convert sugars during fermentation, producing acids and carbon dioxide. That is why a healthy ferment can develop bubbles, fizz and increasing tartness as it progresses.
This recipe is intentionally labeled Western-style because we're simplifying the process and ingredient list for an approachable home-kitchen version.
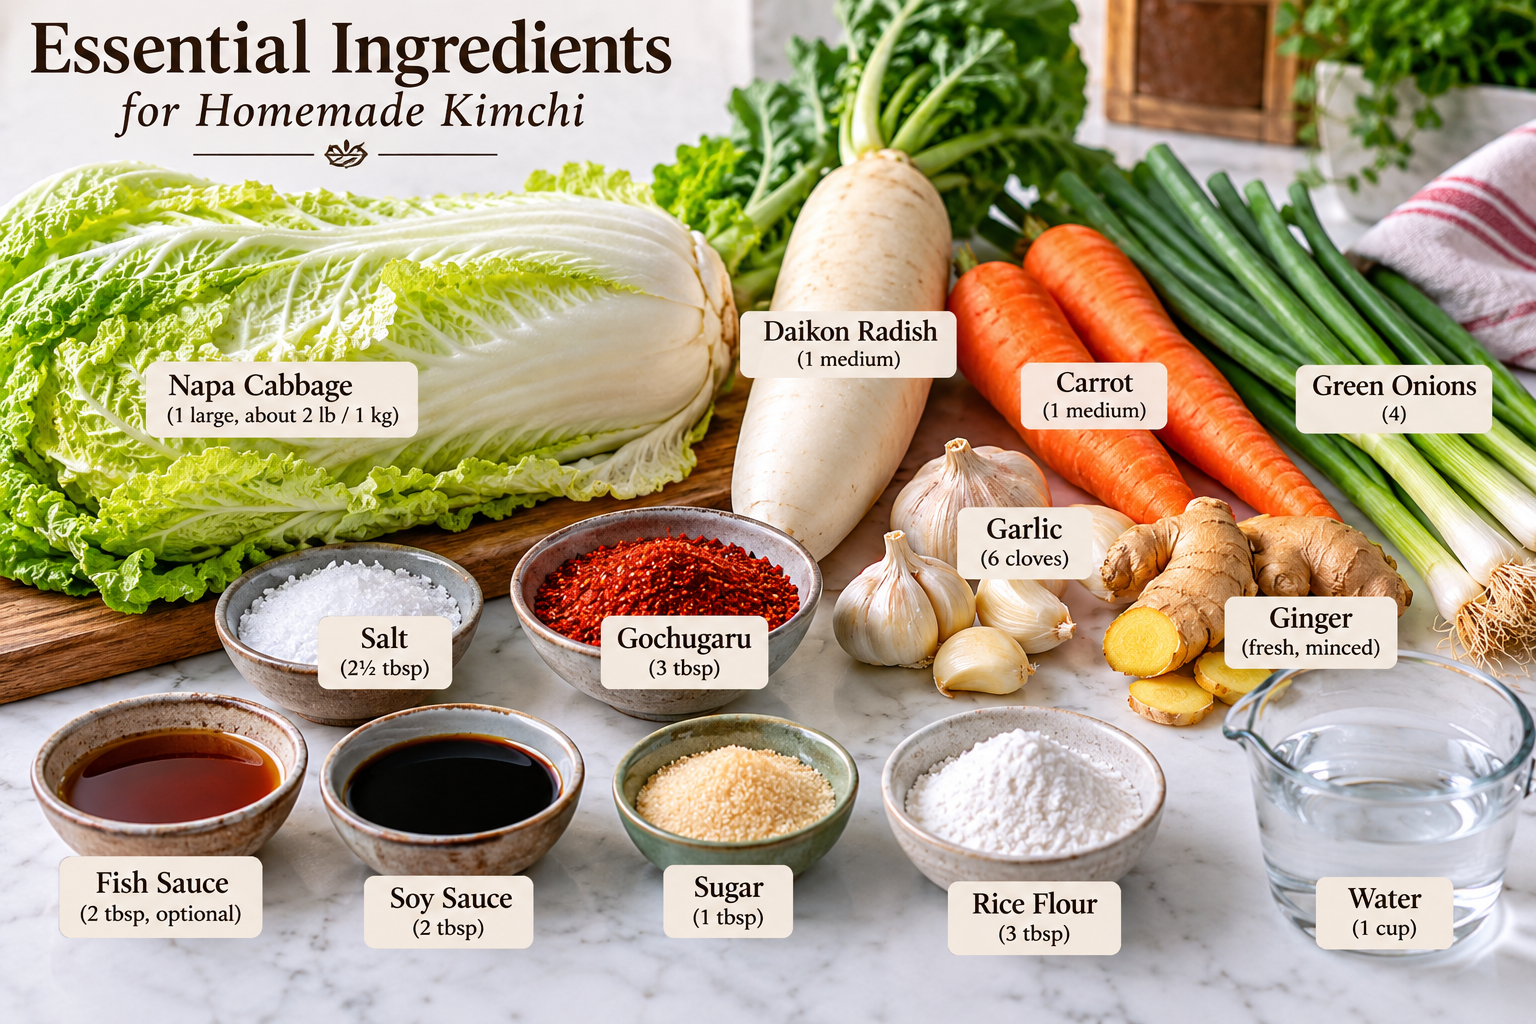
🛒 Ingredients You'll Need
For the Cabbage & Vegetables
1 large Napa cabbage, about 2 lb/1 kg
Napa cabbage has tender leaves and substantial white ribs that soften beautifully while still giving kimchi some crunch.
2½ tablespoons non-iodized salt
This isn't simply seasoning. Salting pulls moisture from the cabbage and changes its texture before fermentation. Use non-iodized salt.
1 medium daikon radish, julienned
Daikon adds a fresh, crisp bite.
1 medium carrot, julienned
Carrot brings crunch, sweetness and color.
4 green onions, cut into approximately 2-inch pieces
Use both the white and green portions.
For the Kimchi Paste
6 garlic cloves, minced
Fresh ginger, minced
3 tablespoons Korean red pepper flakes (gochugaru)
Gochugaru provides the characteristic red color, warmth and chile flavor.
2 tablespoons fish sauce, optional
2 tablespoons soy sauce
1 tablespoon sugar
For the Rice-Flour Base
3 tablespoons rice flour
1 cup water
The rice-flour mixture creates a light paste that helps carry the seasonings and coat all those folds and edges of cabbage.
🌶️ Is Gochugaru the Same as Regular Red Pepper Flakes?
Not quite.
Gochugaru is Korean red pepper used extensively in kimchi. It gives the paste its distinctive red color and chile character. Extension guidance for traditional-style cabbage kimchi specifically identifies Korean red pepper powder as an ingredient.
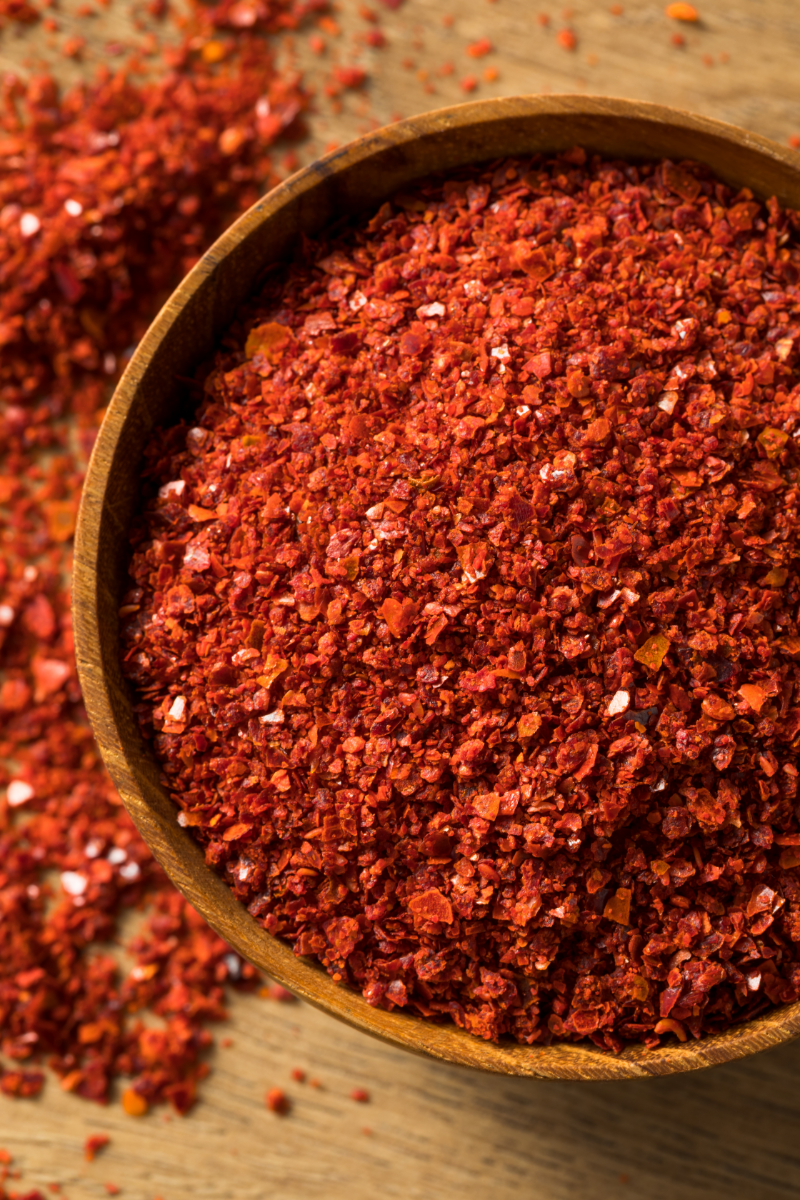
If this is your first jar, I'd resist the temptation to substitute a large amount of standard crushed red pepper simply because it's already in the spice cabinet.
The pepper is a major part of the flavor here.
👩🍳 How to Make Homemade Kimchi Step by Step
Step 1 — Prepare and Salt the Napa Cabbage
Cut the Napa cabbage lengthwise, remove the tough core and cut the cabbage into approximately 2-inch pieces.
Place it in a large bowl and toss thoroughly with the salt, working it through the cabbage so it reaches more than just the top leaves.
Let the cabbage sit until it has noticeably softened and released moisture.
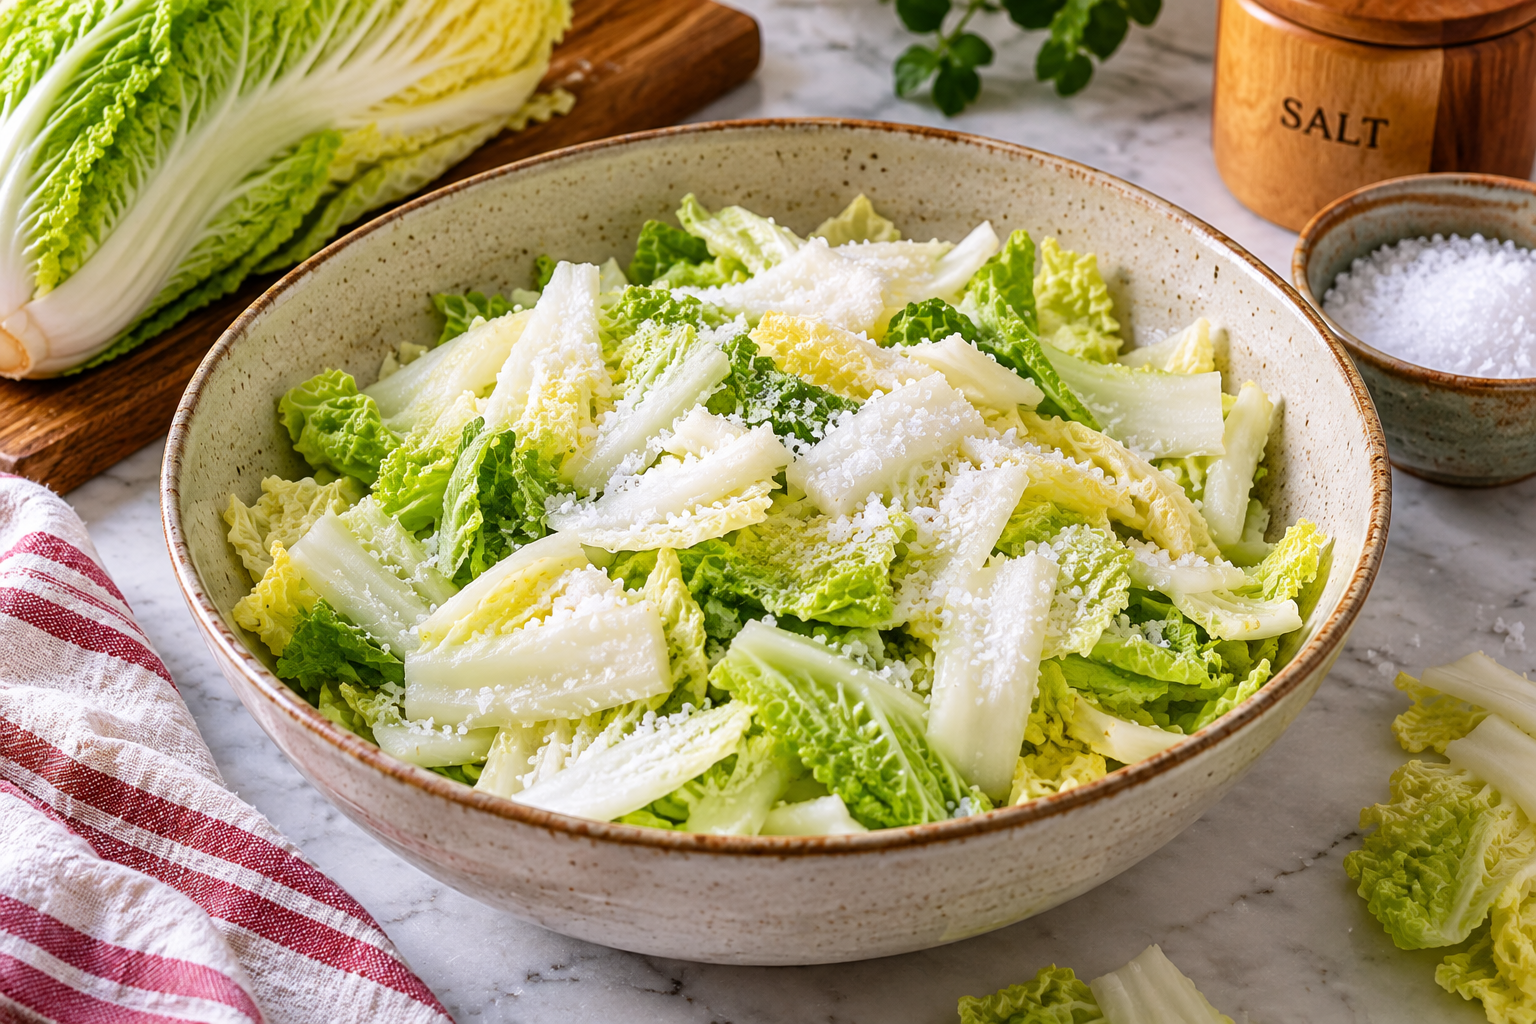
Don't judge this step by the clock alone.
Pick up one of the thicker white pieces. It should have lost its raw rigidity and bend much more easily.
Why salt the cabbage first?
Salt draws water from the cabbage. That changes its texture and prepares it for fermentation. Oregon State Extension's kimchi method similarly salts approximately 2 lb of Napa cabbage before thoroughly rinsing and draining it.
Once softened, rinse the cabbage thoroughly with cold water to remove excess surface salt and drain it well.
Give it time to drain.
Extra water left clinging to the cabbage will dilute the seasoning paste you worked so hard to build.
Step 2 — Prepare the Vegetables
While the cabbage is salting, julienne the daikon radish and carrot.
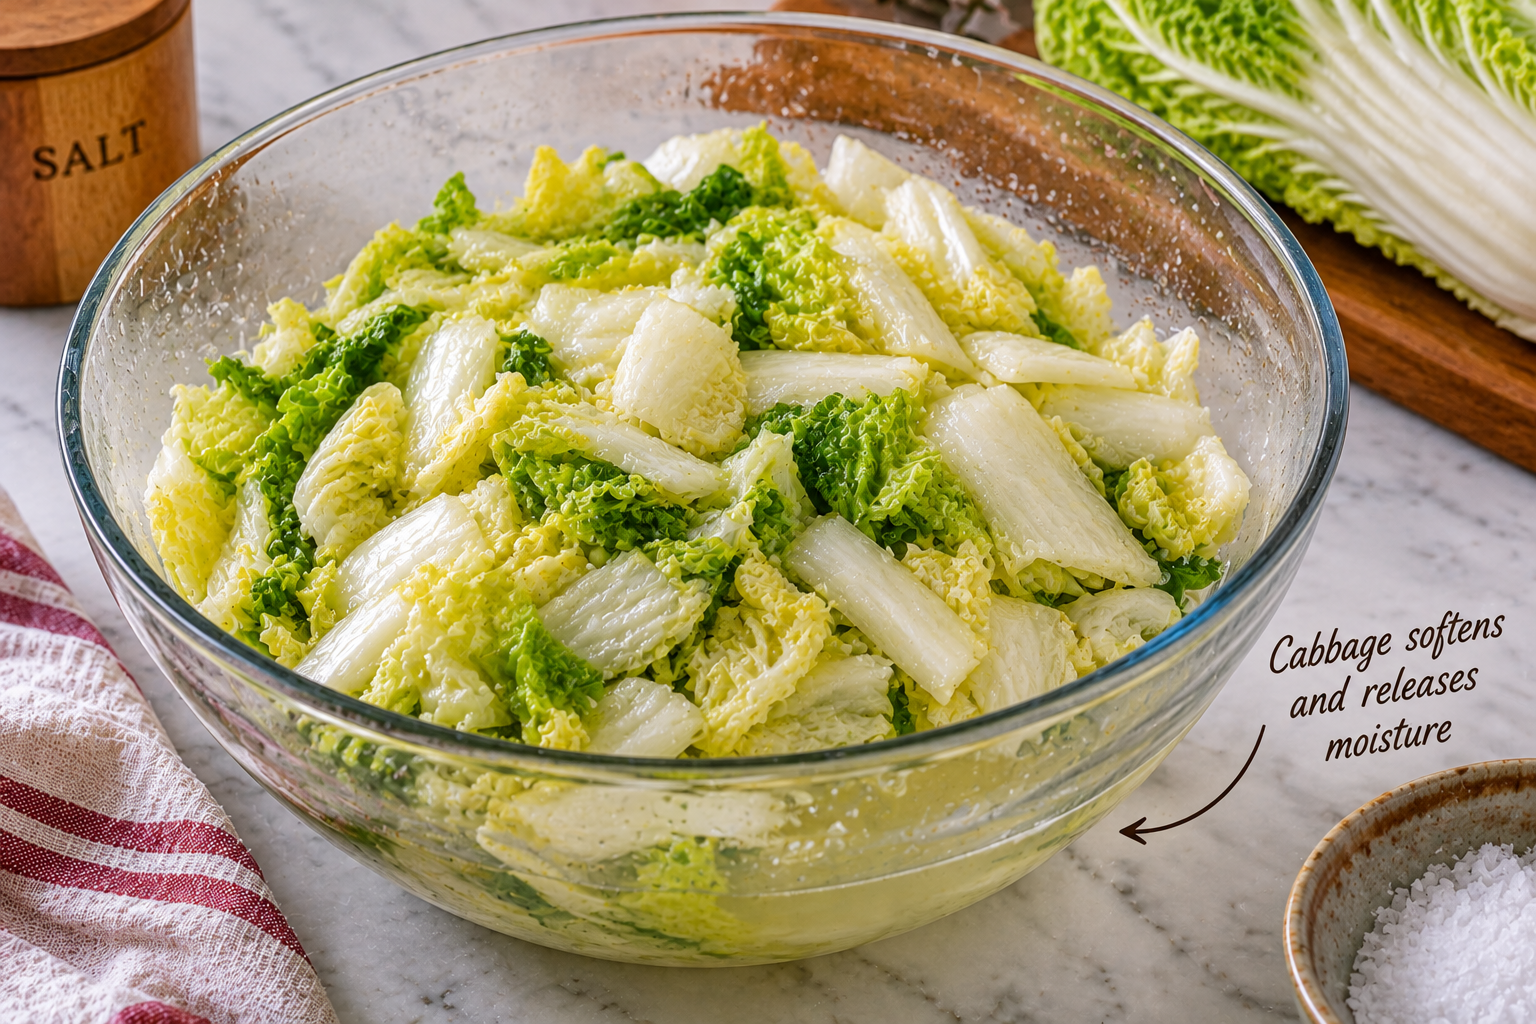
Cut the green onions into approximately 2-inch pieces.
Try to keep the carrot and daikon relatively thin and similar in size. They don't have to be perfect — we're making kimchi, not taking a knife-skills exam — but reasonably even pieces give you a better texture throughout the jar.
Step 3 — Make the Kimchi Paste
Combine the rice flour and water and cook until the mixture thickens into a smooth, light paste. Let it cool.
Stir in the minced garlic, ginger, gochugaru, fish sauce if using, soy sauce and sugar.
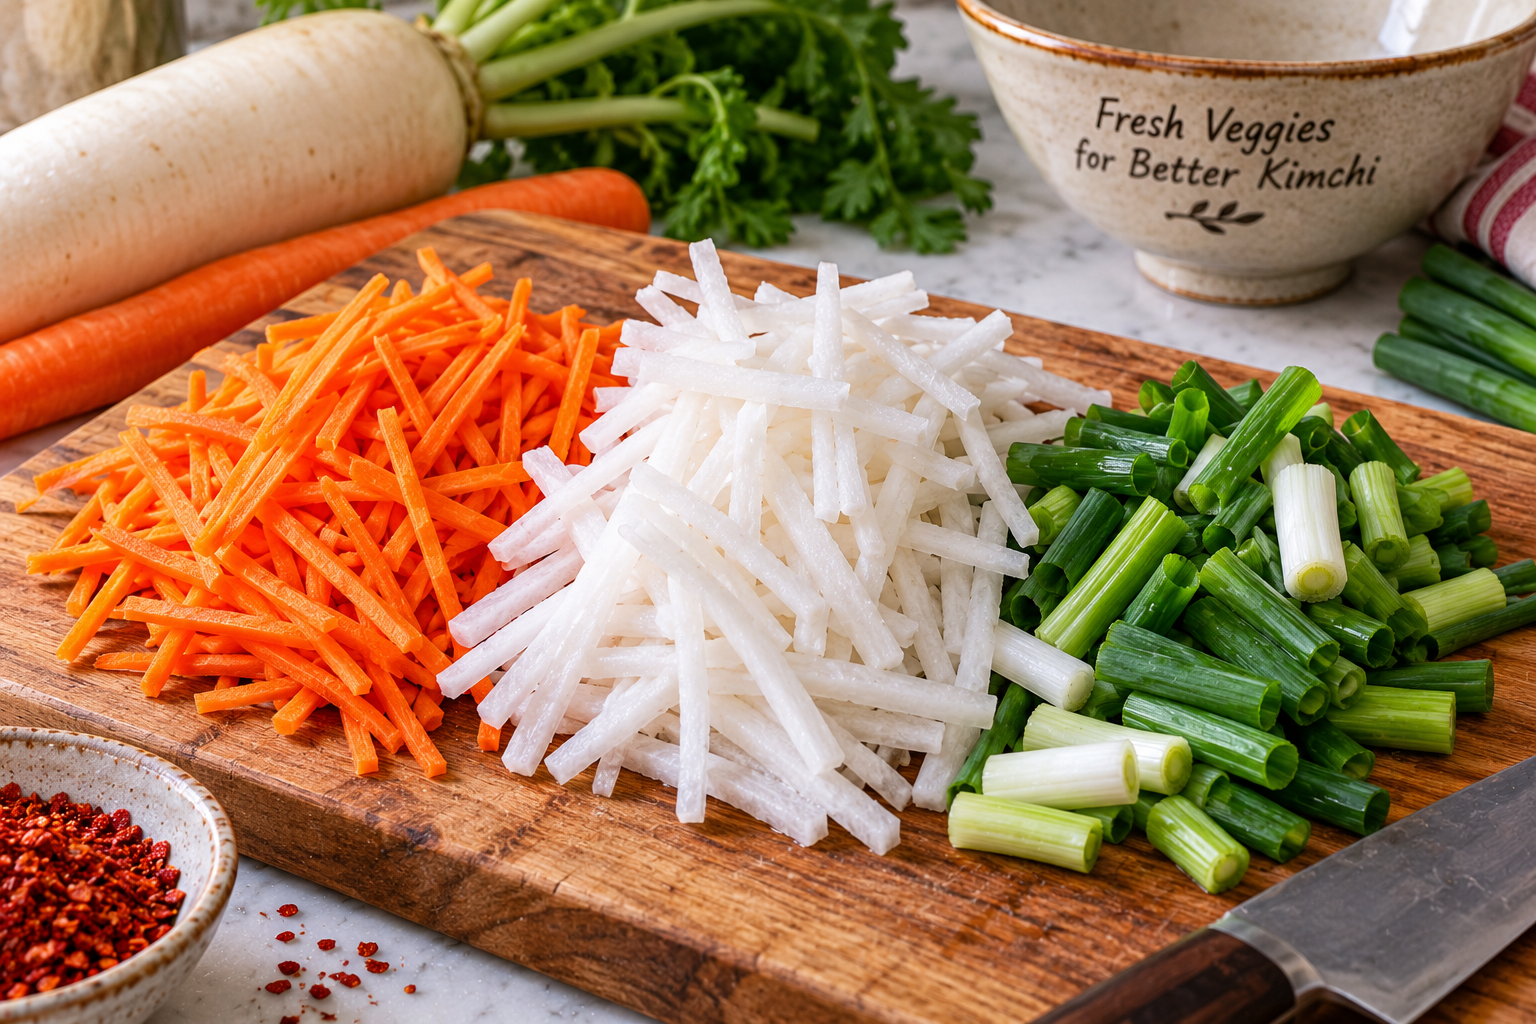
You should end up with a loose red paste rather than a dry spice mixture.
This is where the jar begins smelling like the kimchi you're expecting.
Taste note: The paste before fermentation will taste sharper and less integrated than the finished kimchi. Garlic, ginger, chile and salt haven't had time to settle into one another yet.
Step 4 — Combine Everything
Add the drained cabbage, daikon, carrot and green onions to a large bowl.
Add the kimchi paste.
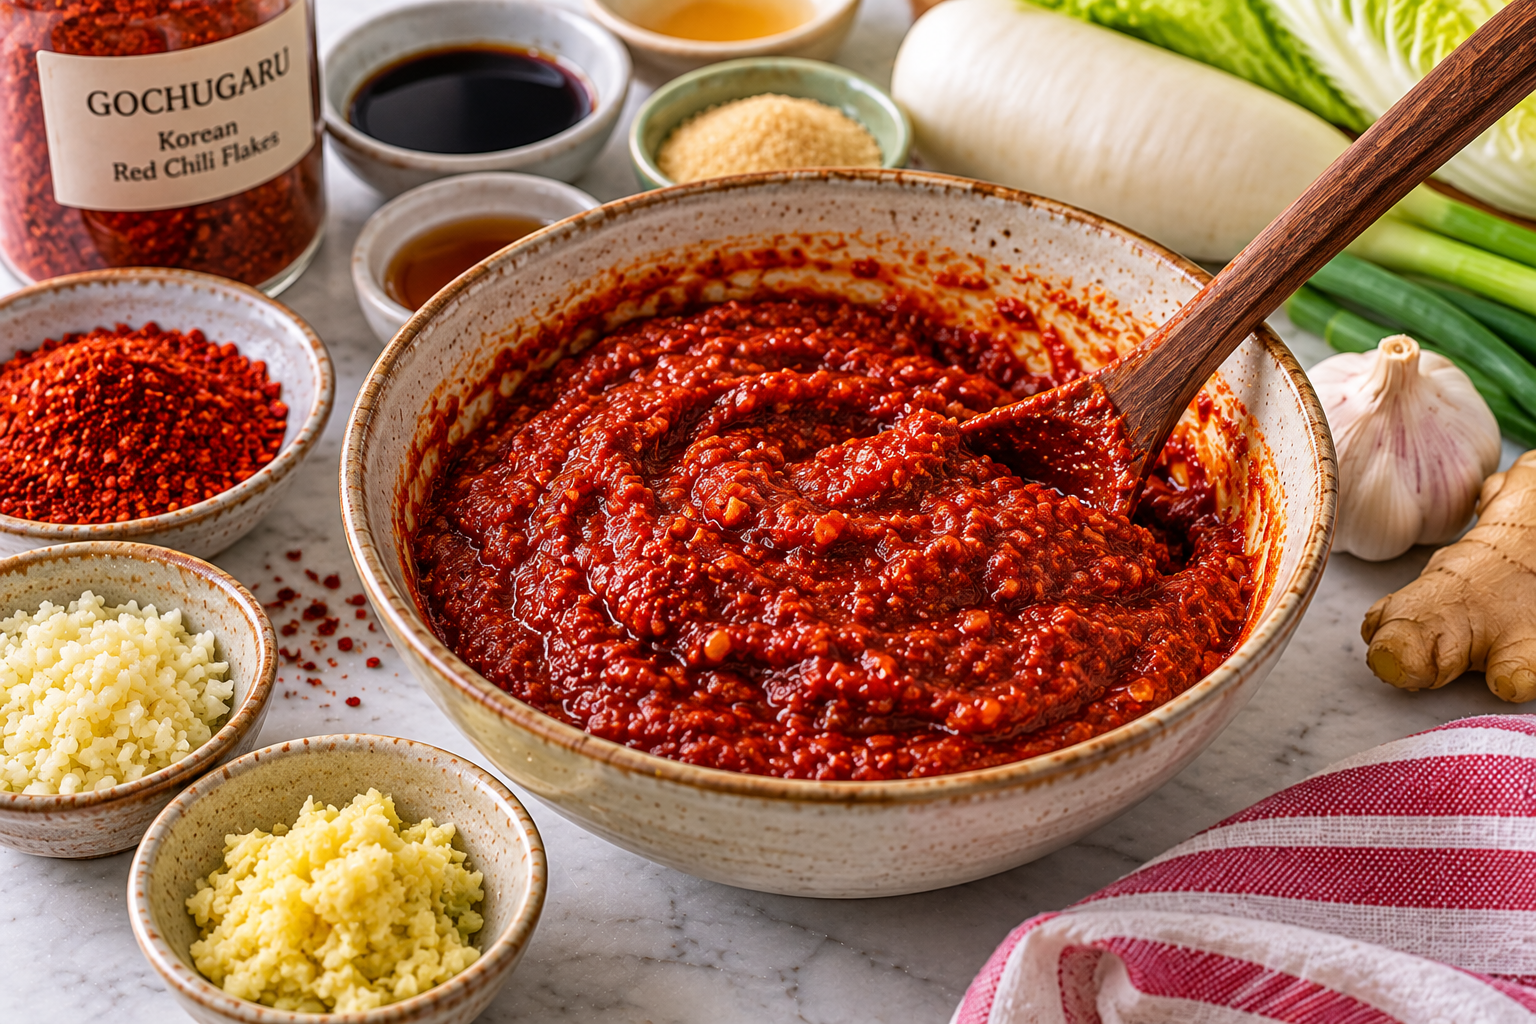
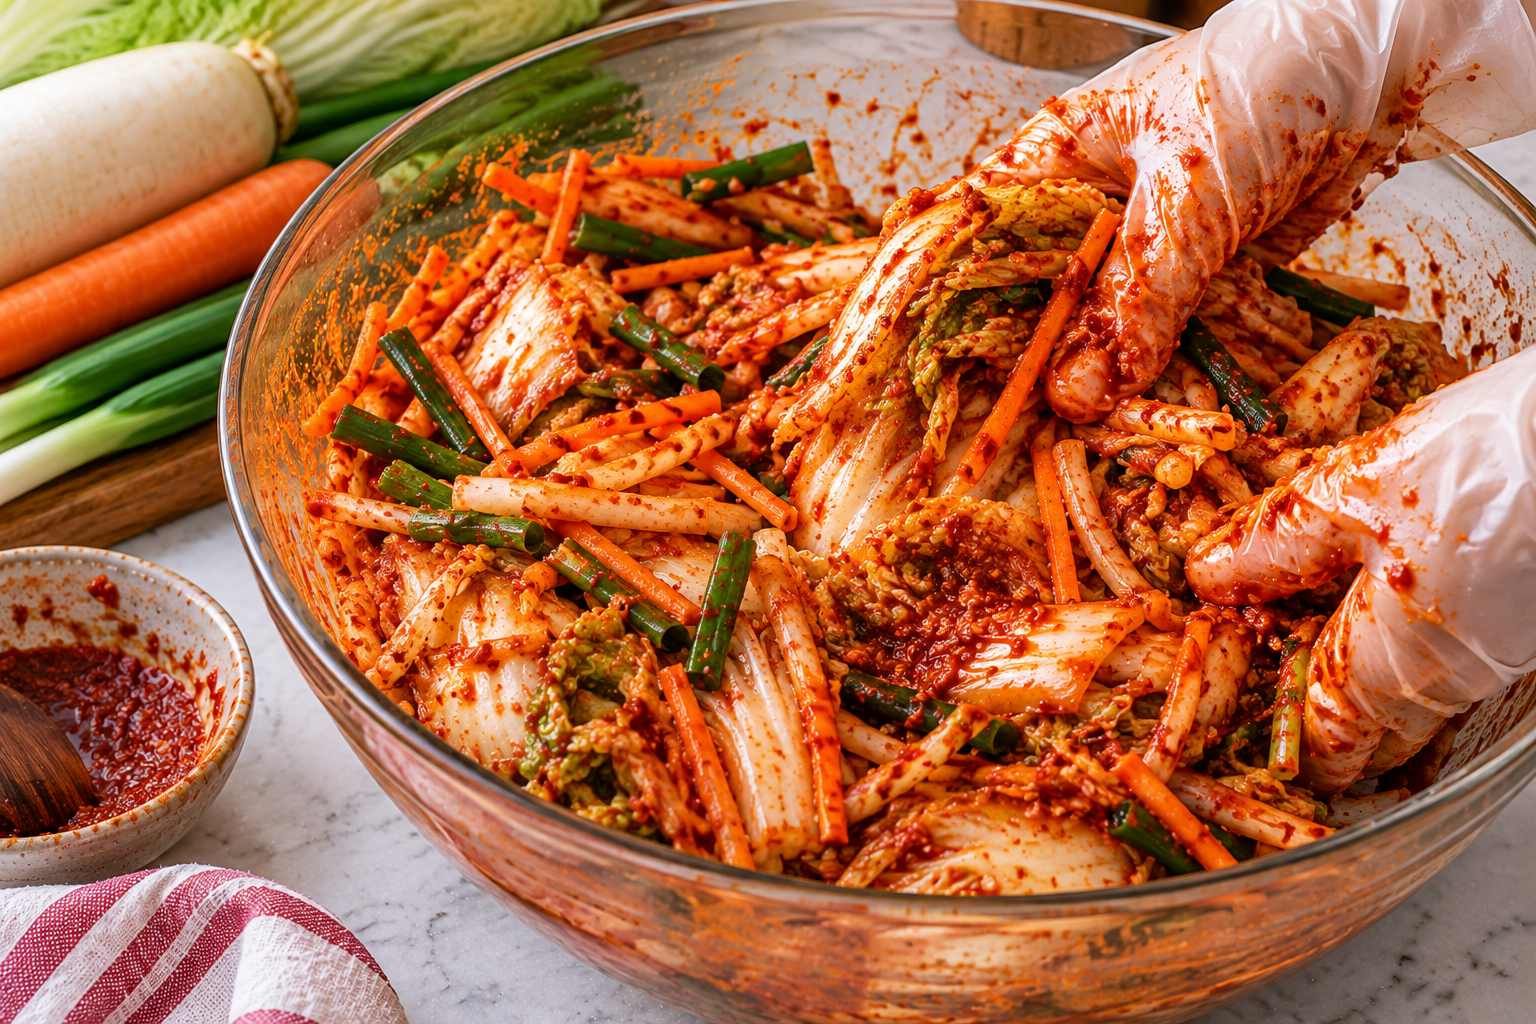
Now mix thoroughly.
I like gloves for this step. They make it much easier to get in there with your hands and work the paste into the folds of the cabbage without spending the rest of the afternoon wondering why your fingers still smell like garlic and chile.
Turn and massage everything gently until you don't see pale, forgotten pieces of cabbage hiding underneath.
Every piece should get some of the seasoning.
Step 5 — Pack the Jar
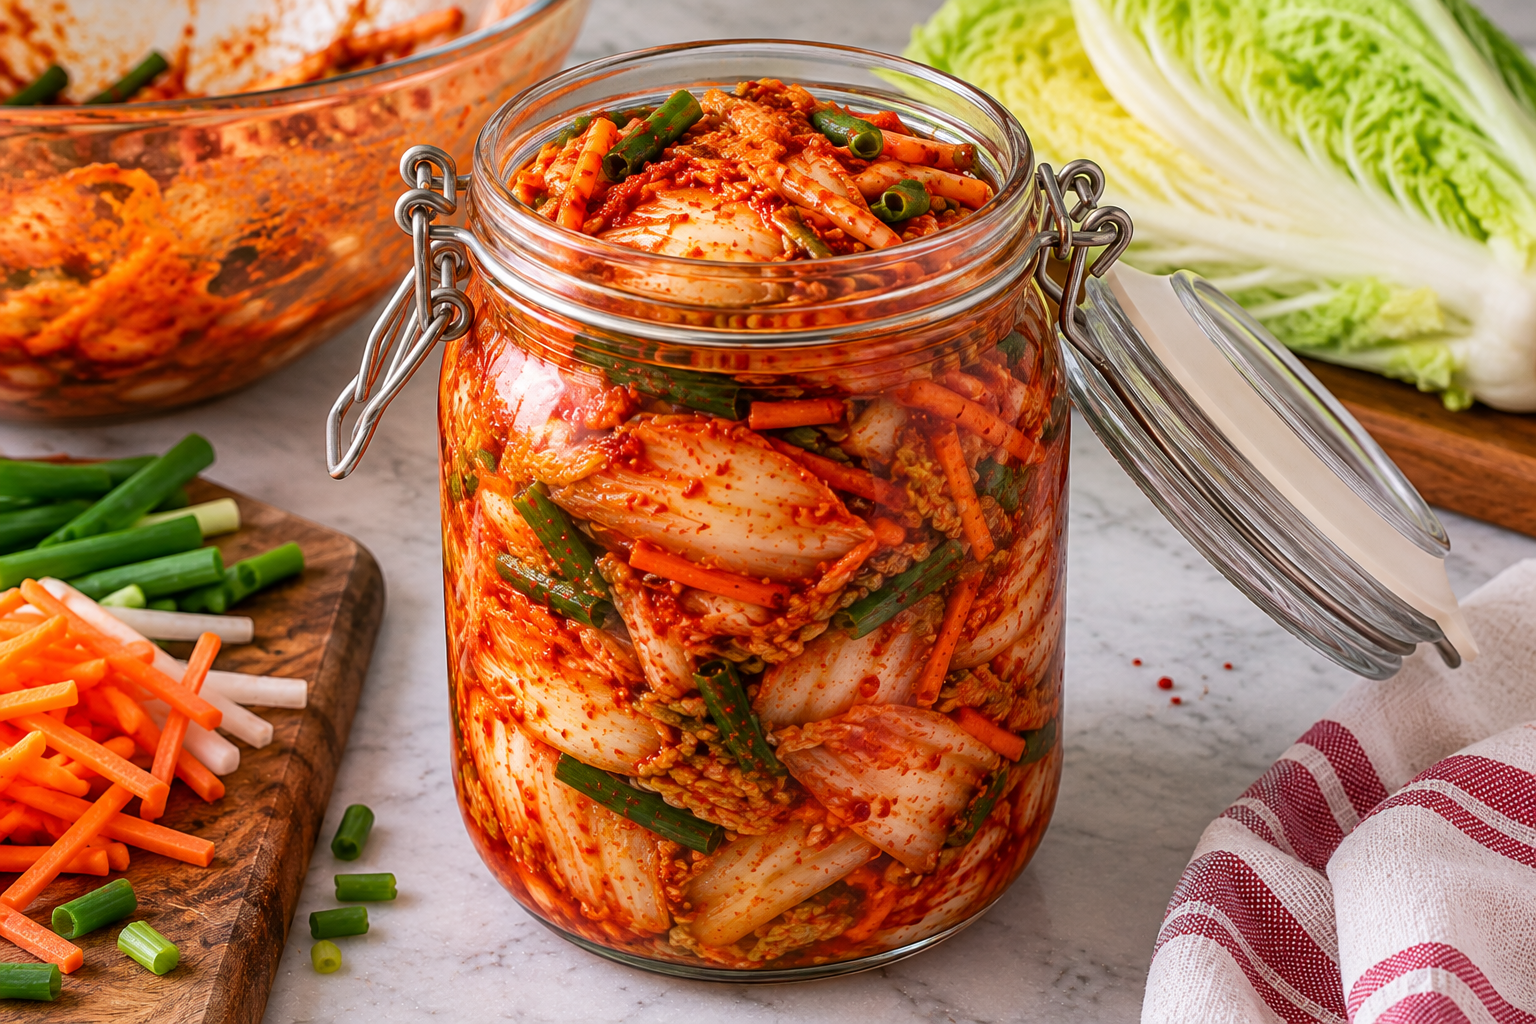
Transfer the kimchi into a clean glass jar.
Add it gradually and press the vegetables down as you go to remove large air pockets.
Don't fill the jar completely to the rim. Fermentation can produce gas and movement, so leave some headspace.
This is also the moment to wipe the rim clean before closing the jar.
The PDF recommends glass or ceramic rather than metal for fermentation, and Extension guidance similarly identifies food-safe glass or plastic fermentation containers while advising against metal containers.
🫙 The Jar Matters More Than You Might Think
You don't need a cabinet full of fermentation equipment to make your first kimchi.
For a batch like this, I would reach for a wide-mouth glass jar.
Not because it makes the kimchi taste magically better, but because it makes the job easier.
A wider opening lets you get a spoon or small tamper inside so you can press the cabbage down and eliminate big pockets of air. It's also much easier to clean around the shoulder and rim of the jar after packing.
And here's the little detail that's easy to overlook: choose a jar larger than the amount of kimchi you're putting into it.
That empty space at the top isn't wasted space.
Fermentation produces carbon dioxide, and an overfilled jar can push liquid and vegetables upward as activity increases. Leaving headspace gives the ferment somewhere to go besides all over your counter.
You don't need the fanciest fermentation jar in the store.
You need one that's clean, food-safe, large enough and easy to work with.
That's the tool choice that actually helps.
🫧 Step 6 — Ferment the Kimchi
Place the closed jar somewhere out of direct sunlight at a reasonably stable room temperature.
For a beginner batch, I would start checking it after about a day rather than automatically leaving it out for several days.
Colorado State Extension recommends around 68°F as an ideal environment and describes fermenting kimchi at room temperature for approximately 1–2 days, tasting daily until it reaches the preferred tang and texture.
A warmer kitchen can move faster.
A cooler kitchen can move more slowly.
That's why your senses matter more than somebody else's clock.
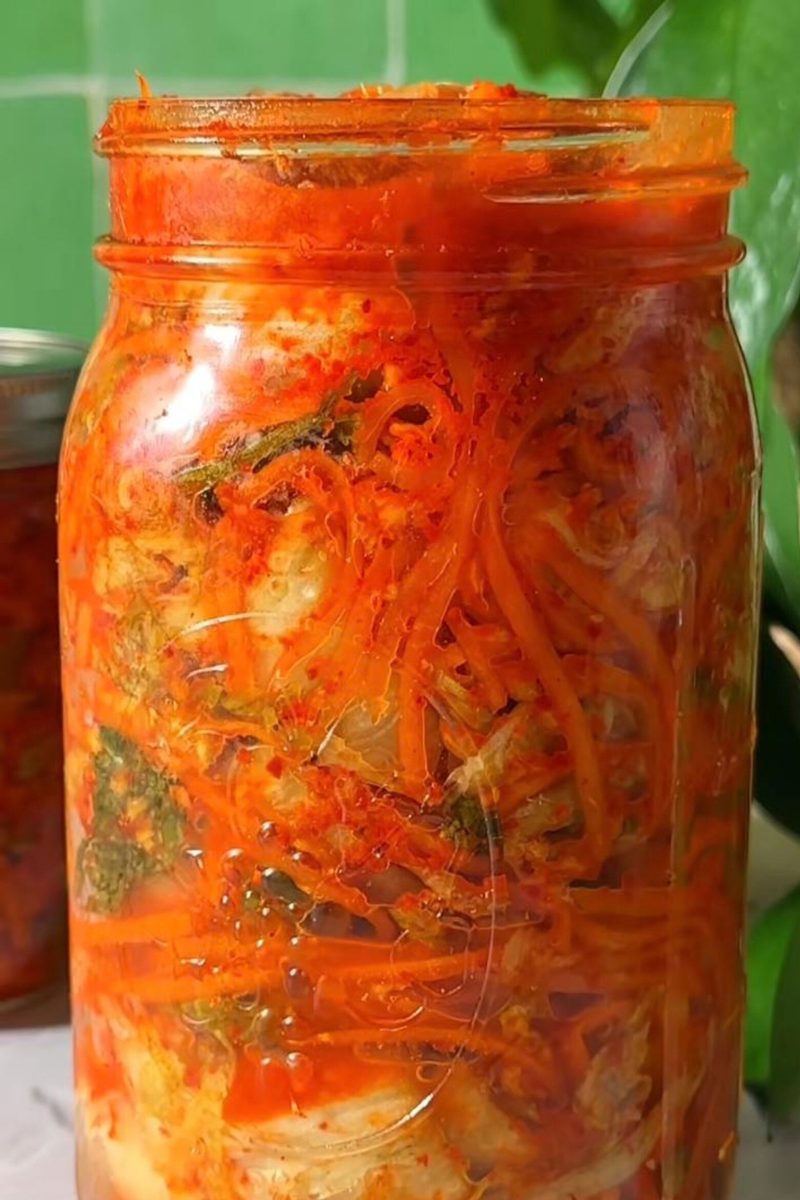
As fermentation gets underway, you may notice:
Small bubbles. A little fizz. A stronger fermented aroma. Increasing tartness.
Those can be normal signs of active fermentation; carbon dioxide is one of the products created during the process.
Once you like the flavor, move the kimchi to the refrigerator.
The cold dramatically slows the process, but doesn't completely stop the flavor from continuing to develop.
❓ How Do I Know When My Kimchi Is Ready?
This is probably the question I'd want answered before making my first batch.
The simplest answer is:
Taste it.
Young kimchi tastes fresher, crunchier and more vegetable-forward.
As fermentation continues, it becomes more acidic, tangy and integrated.
There isn't one magical hour when every jar becomes "done." Seasonal conditions and temperature affect fermentation speed, which is one reason published Extension guidance recommends tasting during fermentation.
When it tastes pleasantly fermented to you, refrigerate it.
That is your finish line.
🚨 What Is Normal — and What Isn't?
Bubbles or fizz?
That can be normal during active fermentation.
A tangy or increasingly sour aroma?
Expected as fermentation progresses.
More sour after refrigeration?
Also expected. Fermentation continues more slowly in the refrigerator.
Visible surface mold?
Discard it. Colorado State Extension specifically advises discarding kimchi when surface mold is observed.
Soft and slimy?
That's a spoilage warning rather than the crisp-tender texture we're after. Oregon State Extension identifies soft, slimy fermented kimchi as a sign of spoilage.
When dealing with fermented foods, don't try to rescue something that clearly shows signs of spoilage.
💡 Tips & Easy Variations
Don't skip the salting step. It isn't there merely to make the cabbage salty. It's part of creating the texture we want before fermentation.
Want milder kimchi? Reduce the gochugaru rather than eliminating all of the flavorful aromatics.
Love garlic? Add a little more for a stronger garlic-forward paste.
Want more crunch? Increase the carrot or daikon slightly.
Making vegan kimchi? Leave out the fish sauce. The soy sauce still supplies savory depth.
Keep everything clean. Wash your hands and use clean utensils, work surfaces and containers. Proper sanitation during preparation helps reduce contamination from unwanted microorganisms.
Don't obsess over matching someone else's fermentation time. Temperature and the vegetables themselves can change the pace from one batch to another.
🍚 What to Eat With Homemade Kimchi
This is where having a jar in the refrigerator becomes dangerous in the best possible way, because suddenly you're looking for excuses to put kimchi on everything.
For a quick meal, spoon it alongside rice and a fried egg.
For dinner, serve it as a bright, tangy counterpoint to my Korean Chicken and Cabbage Skillet. The site recipe uses chicken, cabbage, garlic, ginger and soy-based seasoning, so the flavors naturally overlap without making the meal taste repetitive.
Kimchi also belongs next to Chicken Fried Rice. I'd actually keep the kimchi cold and put it on the plate at the end rather than burying it in the rice — you get that great contrast between hot savory rice and cool, tangy cabbage.
For something richer, try it with Instant Pot Asian-Style Sticky Ribs. The acidic, crunchy kimchi gives you a welcome break from the ribs' sticky sweet-savory sauce.
And if seafood is on the menu, my Asian-Inspired Roasted Shrimp and Veggies shares garlic, ginger, sesame and savory flavors that make the kimchi feel completely at home on the same plate.
🧊 How to Store Homemade Kimchi
Once the kimchi reaches the flavor you like, refrigerate it in its covered container.
Keep the vegetables pressed down and minimize unnecessary air exposure when possible.
Remember that refrigeration slows fermentation rather than freezing the flavor in place. Your kimchi will generally become more sour as it sits.
For a beginner recipe, I prefer a conservative storage recommendation: keep it refrigerated and enjoy it while its flavor and texture are at their best. Colorado State Extension recommends refrigeration and notes that quality deteriorates with extended fermentation.
And always use a clean utensil when taking kimchi from the jar.
❓ Homemade Kimchi FAQs
Is homemade kimchi difficult to make?
No. Most of the work is vegetable preparation. Once the cabbage is salted, rinsed and seasoned, fermentation does the rest. The unfamiliar part for beginners is learning what active fermentation looks and smells like.
Why do I have to salt Napa cabbage?
Salt draws moisture from the cabbage and changes its texture before fermentation. It's a functional step, not simply seasoning.
Do I need a fermentation starter?
No. The microorganisms necessary for fermentation are naturally present on the raw ingredients, so a commercial starter isn't required.
Does kimchi need to be completely covered in liquid?
Kimchi isn't prepared exactly like a cucumber pickle sitting in a large jar of brine. Pack the vegetables down firmly and minimize their exposure to air rather than expecting them to float in a jar full of liquid.
Why is my kimchi bubbling?
Fermentation produces carbon dioxide, so bubbling and fizz can occur as fermentation becomes active.
How long should I ferment homemade kimchi?
For this beginner version, start checking it after about a day. Around 68°F, Colorado State Extension describes approximately 1–2 days at room temperature, with daily tasting. Warmer conditions can accelerate fermentation.
Can I make this kimchi less spicy?
Yes. Reduce the gochugaru. You'll lose some of the red color and chile flavor along with the heat, but you can make a gentler version.
Can I make vegan kimchi?
Yes. Omit the fish sauce in this recipe.
Can I use regular green cabbage?
For this recipe, I'd use Napa cabbage. Its leaves and ribs give you the texture this method was designed around.
Why is my kimchi getting more sour?
Fermentation continues after the jar enters the refrigerator, only much more slowly. Increasing sourness over time is therefore normal.
🌶️ One Last Tip
Don't make your first jar while trying to predict exactly what it will taste like on day three, day five or day ten.
Taste it along the way.
That's one of the pleasures of making kimchi yourself.
On the first day, you have seasoned cabbage — crunchy, garlicky and bright.
Then the jar starts changing.
The flavors settle down. Acidity builds. Garlic, ginger and chile stop tasting like separate ingredients and begin tasting like one thing.
And eventually you'll open the refrigerator, pull out your own jar, put a forkful next to a hot bowl of rice and realize:
Oh. I made kimchi.
That's the moment we're after.
PrintEasy Homemade Kimchi for Beginners — Western-Style Napa Cabbage Kimchi
- Total Time: Fermentation Time: approximately 1–2 days at room temperature, then refrigerate
- Yield: About 1 large jar 1x
Description
This easy homemade kimchi combines Napa cabbage, daikon, carrot and green onions with a spicy garlic-ginger gochugaru paste. Salt the cabbage, season the vegetables, pack into a clean jar and ferment for an approachable homemade kimchi that's tangy, crisp and full of flavor.
Ingredients
🛒 Ingredients
Vegetables
- 1 large Napa cabbage, about 2 lb/1 kg
- 2½ tablespoons non-iodized salt
- 1 medium daikon radish, julienned
- 1 medium carrot, julienned
- 4 green onions, cut into 2-inch pieces
Kimchi Paste
- 6 garlic cloves, minced
- Fresh ginger, minced
- 3 tablespoons gochugaru
- 2 tablespoons fish sauce, optional
- 2 tablespoons soy sauce
- 1 tablespoon sugar
Rice-Flour Base
- 3 tablespoons rice flour
- 1 cup water
Instructions
1. Prepare and salt the cabbage.
Remove the tough core from the Napa cabbage and cut the cabbage into approximately 2-inch pieces. Toss thoroughly with salt and allow it to soften and release moisture. Rinse thoroughly with cold water and drain well.
2. Prepare the vegetables.
Julienne the daikon and carrot. Cut the green onions into approximately 2-inch pieces.
3. Make the rice-flour base.
Combine the rice flour and water and cook until smooth and lightly thickened. Allow it to cool.
4. Make the kimchi paste.
Mix the cooled rice-flour base with garlic, ginger, gochugaru, fish sauce if using, soy sauce and sugar.
5. Combine.
Add the cabbage, daikon, carrot and green onions to a large bowl. Add the kimchi paste and mix thoroughly until the vegetables are evenly coated.
6. Pack the jar.
Transfer to a clean glass jar, pressing the vegetables down as you go to remove large air pockets. Leave headspace at the top and clean the rim.
7. Ferment.
Keep the closed jar out of direct sunlight at a stable room temperature. At approximately 68°F, begin checking and tasting after one day. Ferment to your preferred level of tanginess, generally around 1–2 days for this method.
8. Refrigerate.
Transfer the kimchi to the refrigerator when the flavor reaches the level of fermentation you enjoy. Keep refrigerated and use clean utensils when serving.
Notes
📝 Notes
- Fermentation speed varies with temperature.
- Small bubbles and fizz can be normal.
- Use clean equipment and containers.
- Leave some headspace in the jar.
- Reduce gochugaru for milder kimchi.
- Omit fish sauce for the vegan version.
- Discard kimchi if visible surface mold develops.
- Soft, slimy kimchi can indicate spoilage.
- Prep Time: 30 minutes, plus salting
- Category: condiment, Side Dish
- Method: Fermentation
- Cuisine: Korean-Inspired / Western-Style




Leave a Reply