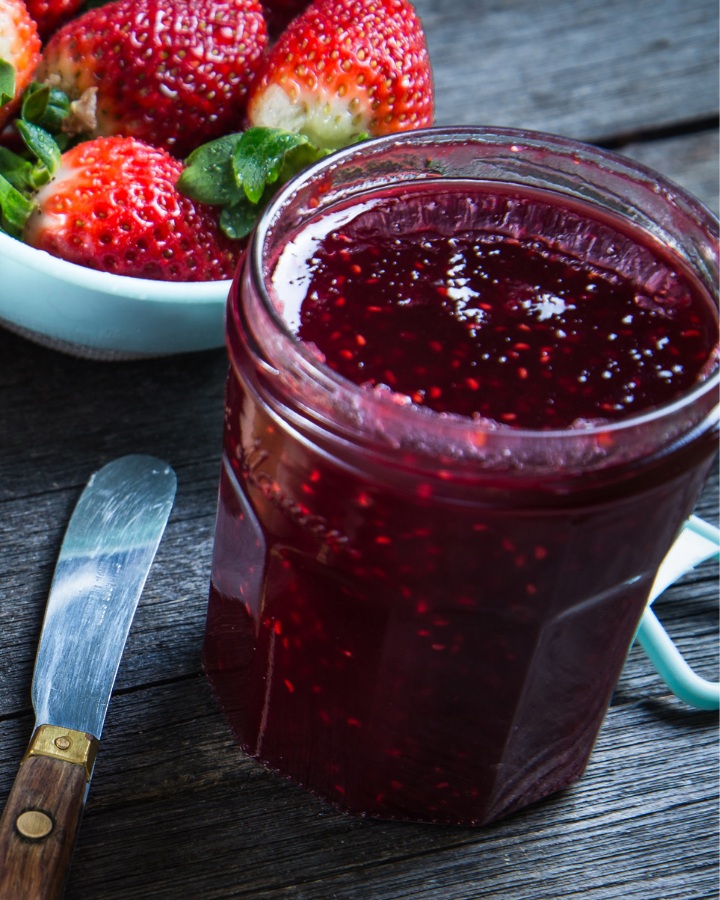
Why This Strawberry Jam Recipe is a Game-Changer
There’s nothing like the sweet, natural taste of fresh strawberry jam spread on warm toast or swirling through yogurt. Unlike store-bought jams loaded with preservatives, t
Jump to:
his homemade version uses just strawberries, sugar, and lemon juice. It’s naturally thickened, bursting with fruity flavor, and easy enough for even first-time jam makers!
Whether you want to elevate your breakfast, create thoughtful gifts, or enjoy a weekend cooking project, this jam will fill your kitchen with the irresistible aroma of ripe strawberries.
📋 RECIPE AT A GLANCE
| Detail | Time / Amount |
|---|---|
| Prep time | 10 minutes |
| Cook time | 25–30 minutes |
| Chill time | 1 hour (optional) |
| Total time | 35–40 minutes |
| Yield | About 3 cups (makes 3 jars) |
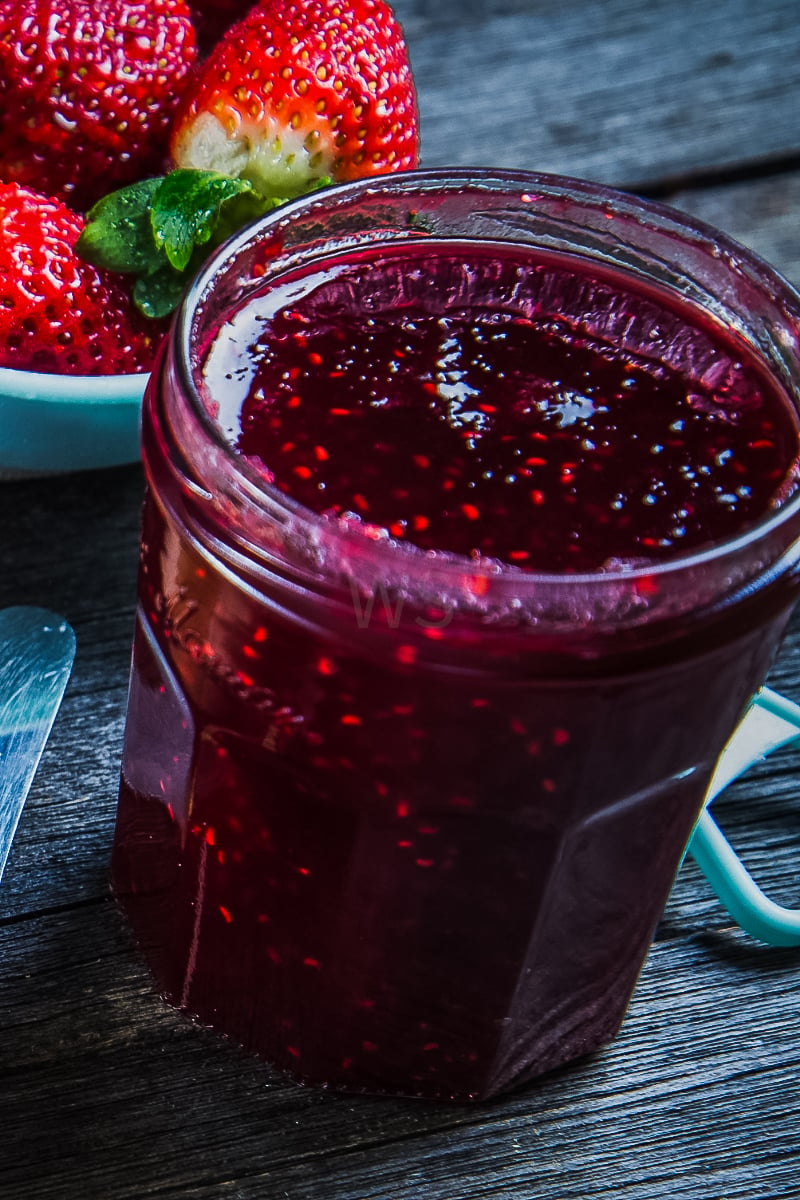
Ingredients You’ll Need
This is a naturally sweetened jam that skips refined sugar and uses maple syrup for a rich, smooth sweetness. Perfect for spreading on toast, stirring into yogurt, or topping pancakes!
Ingredients
- 4 cups fresh strawberries, hulled and chopped
- ½ cup pure maple syrup (adjust to taste)
- 2 tablespoon lemon juice
- 2 tablespoon chia seeds (optional, for thickening)
Pro Tip: Use fully ripe strawberries for maximum sweetness and flavor.
Step-By-Step Instructions
Step 1: Prepare the Strawberries
Wash, hull, and chop the strawberries into small pieces.
Step 2: Cook the Strawberries
Step 2: Cook the Strawberries
Place the chopped strawberries and lemon juice in a medium saucepan. Cook over medium heat for 10 minutes, stirring occasionally, until the berries release their juices and soften.
Step 3: Add Maple Syrup
Step 3: Add Maple Syrup
Stir in the maple syrup. Taste and adjust the sweetness if needed.
Step 4: Thicken (Optional)
Step 4: Thicken (Optional)
If you prefer a thicker jam, add the chia seeds and cook for an additional 2–3 minutes while stirring.
Step 5: Mash or Blend
Step 5: Mash or Blend
Mash the berries with a fork or potato masher for a chunky texture, or use an immersion blender for a smoother consistency.
Step 6: Cool the Jam
Step 6: Cool the Jam
Remove the pan from heat and let the jam cool to room temperature.
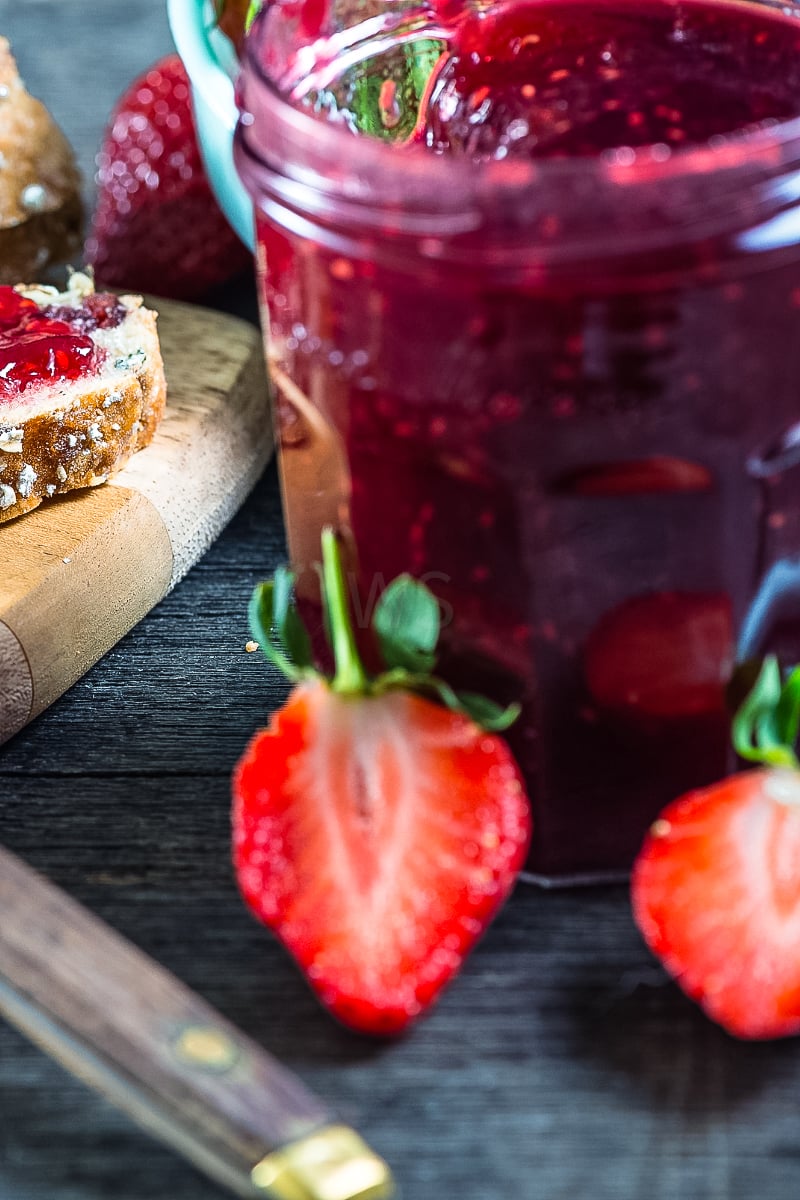
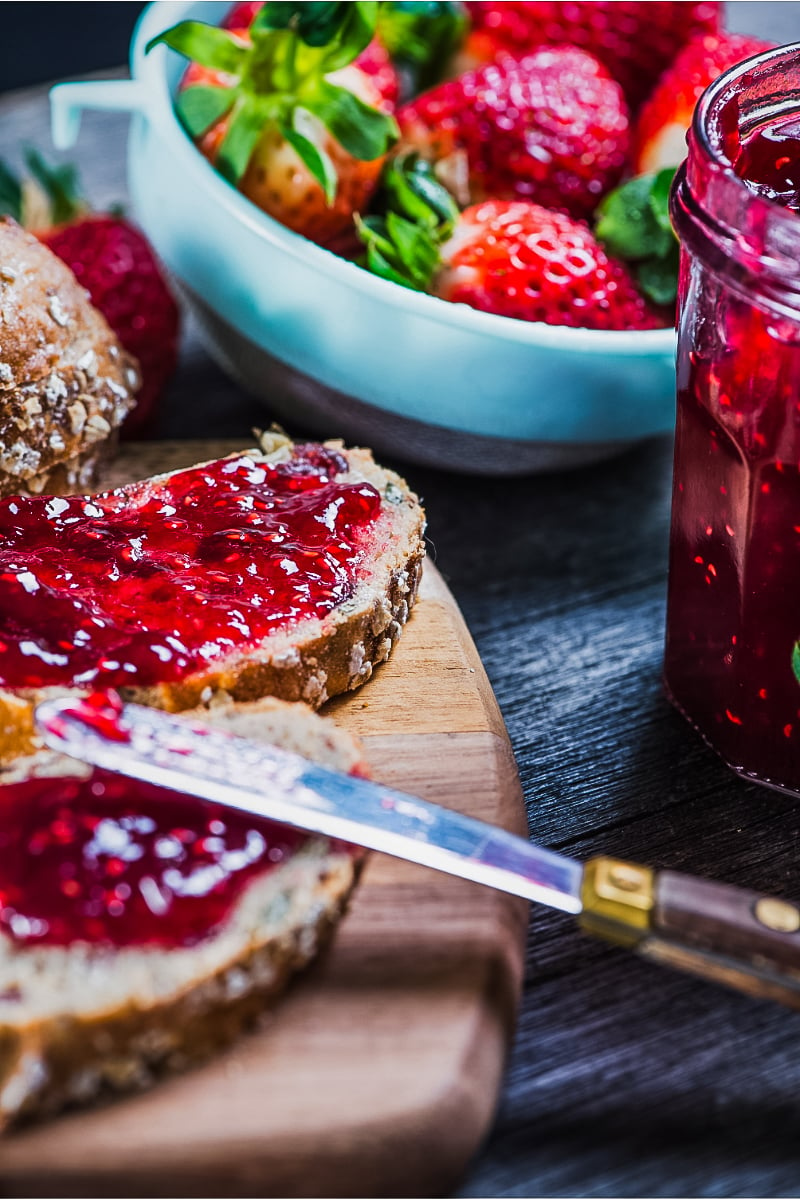
Step 7: Store the Jam
Transfer the jam into a clean jar and refrigerate. It will keep for up to 2 weeks in the fridge, or freeze for longer storage
Tips, Tricks, & Variations
- No-Cook Version: Mash strawberries with sugar and lemon juice, let sit for 10 minutes, then refrigerate.
- Flavor Twists: Add vanilla, cinnamon, or a splash of balsamic vinegar for depth.
- Storage: Refrigerate for up to 3 weeks, or use proper canning methods for longer shelf life.
Why You’ll Love This Jam
- No pectin needed: Natural thickening from fruit and sugar.
- Bursting with flavor: Bright, fresh, fruity taste.
- Versatile: Spread on toast, swirl into yogurt, top pancakes, or gift to friends.
Other JAM recipes for you
Chia Seed Blueberry Jam > an excellent choice for a healthier jam. It's made with blueberries, honey, and chia seeds, which are natural and easy to find.
Mango Jam > a delicious and easy-to-make treat that can be enjoyed all year round. In just a few simple steps, you can transform fresh mangos into a sweet and tangy spread
Apple jam > a quintessential fall treat, capturing the cozy and nostalgic flavors of the season in a jar. Making apple jam is surprisingly simple and rewarding, making it an ideal culinary project as the weather turns cooler and apples are abundant.
Print
Easy Homemade Strawberry Jam Recipe (No Pectin Needed)
Ingredients
Ingredients You’ll Need
This is a naturally sweetened jam that skips refined sugar and uses maple syrup for a rich, smooth sweetness. Perfect for spreading on toast, stirring into yogurt, or topping pancakes!
Ingredients
- 4 cups fresh strawberries, hulled and chopped
- ½ cup pure maple syrup (adjust to taste)
- 2 tbsp lemon juice
- 2 tbsp chia seeds (optional, for thickening)
Pro Tip: Use fully ripe strawberries for maximum sweetness and flavor.
Instructions
Step 7: Store the Jam
Related
Looking for other recipes like this? Try these:
Pairing
These are my favorite dishes to serve with [this recipe]:


Leave a Reply