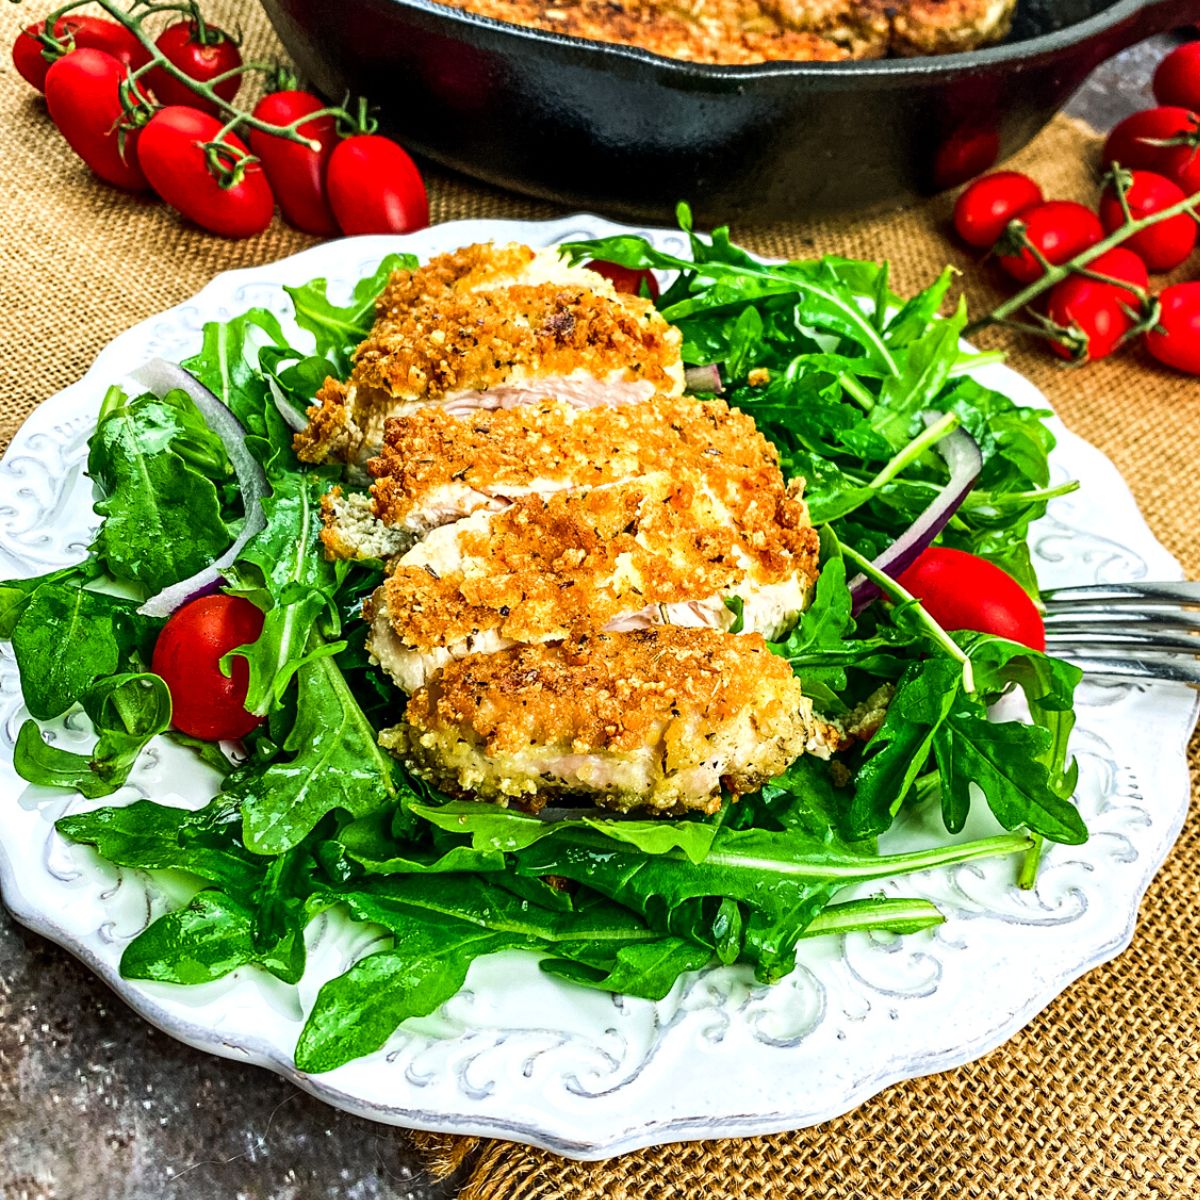
Are you tired of bland, gluten-free meals? Well, say goodbye to tasteless dinners with these Cheesy Gluten-Free Chicken Cutlets! With a crispy outside and juicy inside, these cutlets are the perfect combination of savory and cheesy.
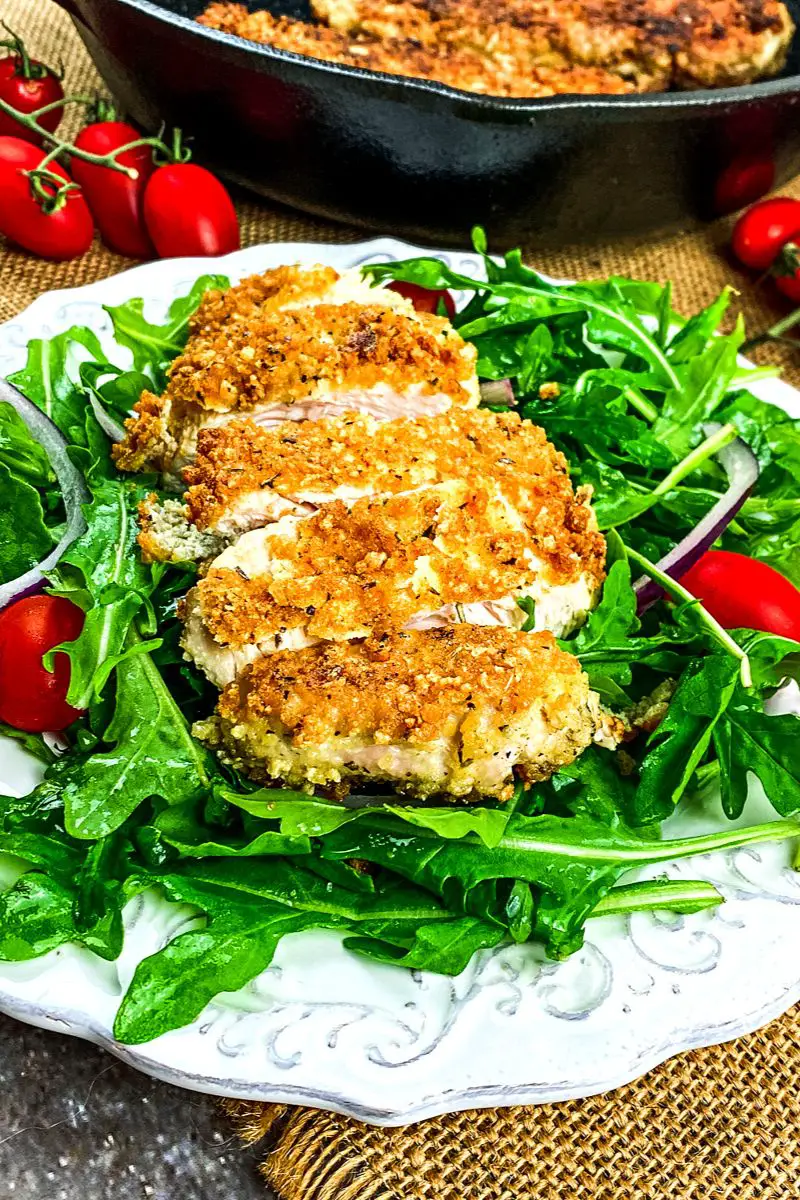
The melted cheese mixed with herbs and spices adds the perfect amount of flavor to this dish. Not only is it delicious, but it's also gluten-free, making it the perfect meal for those with dietary restrictions. So, what are you waiting for? Try these Cheesy Gluten-Free Chicken Cutlets tonight and see how easy and tasty gluten-free cooking can be!
How Healthy Are the Cheesy Gluten-Free Chicken Cutlets?
Everyone loves a good, cheesy chicken cutlet. But for those with gluten allergies or intolerances, finding a tasty and safe option can be challenging. The Cheesy Gluten-Free Chicken Cutlets offer a delicious solution. Made with a crispy gluten-free coating and filled with juicy chicken and gooey cheese, these cutlets are sure to satisfy any craving. But just how healthy are they? Well, with lean protein from the chicken and the absence of gluten, these cutlets offer a healthier alternative to traditional breaded chicken dishes. So go ahead and indulge in some cheesy goodness, guilt-free!
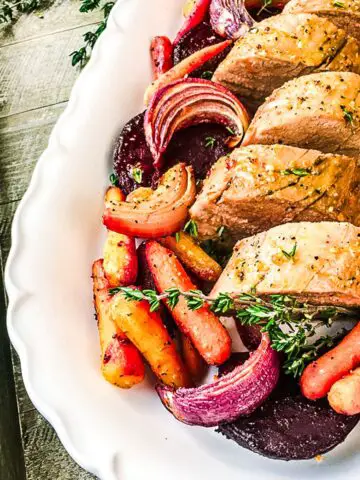
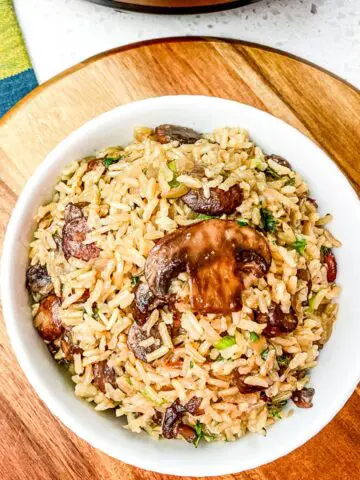
This was inspired by my other recipe on this site, and pairs well with this amazing sidedish recipe.
Prep time: 20 minutes
Cook time: 25 minutes
Serves: 4
Jump to:
Ingredients
- 4 6-oz. boneless, skinless chicken cutlets
- ¾ c. almond flour
- Sea salt and black pepper, to taste
- 3 large eggs
- ¼ c. water
- ¾ c. gluten-free panko breadcrumbs
- ¼ c. Parmesan cheese, finely grated
- 2 t. Italian seasoning
- 1 c. olive oil, divided*
*For this application, use regular olive oil instead of extra virgin because it has a higher smoke point.
Instructions
- Add the almond flour, salt, and black pepper to a shallow, wide bowl or pie pan and stir to combine. Set aside.
- Whisk the eggs together with the water until thoroughly combined and transfer to a shallow, wide bowl or pie pan. Set aside.
- Pulse the gluten-free breadcrumbs, Parmesan cheese, and Italian seasoning in food processor until fine. Transfer to a rimmed plate or pie pan and set aside.
- Pat the chicken dry with a paper towel and then dredge each cutlet in the almond flour, then the egg mixture, and finally, the breadcrumbs. Be sure to shake off any excess almond flour and egg before moving to the next step. Press the chicken firmly into the breadcrumb mixture to ensure they are evenly coated.
- When finished, transfer each cutlet to a wire rack for 5-10 minutes to "set up."
- Add one-half cup olive oil to a 12" cast iron skillet set over medium-high heat. Working in batches, add two of the cutlets once the oil starts to shimmer.
Tip: For best results, don't do all 4 cutlets simultaneously to prevent overcrowding. The excess steam from overcrowding will interfere with the browning process. - Cook the chicken on one side until golden brown and crispy, approximately 4-5 minutes, before flipping. As soon as each breast is flipped, reduce heat to medium and cook on the second side for about 5 minutes or until the chicken is cooked through.
- Remove from heat and transfer the cutlets to a wire rack set inside a rimmed baking pan and gently remove excess oil with paper towels.
- Carefully drain used olive oil from the skillet and wipe the excess with a paper towel. Add the remaining olive oil to the skillet and repeat the process with the remaining chicken cutlets.
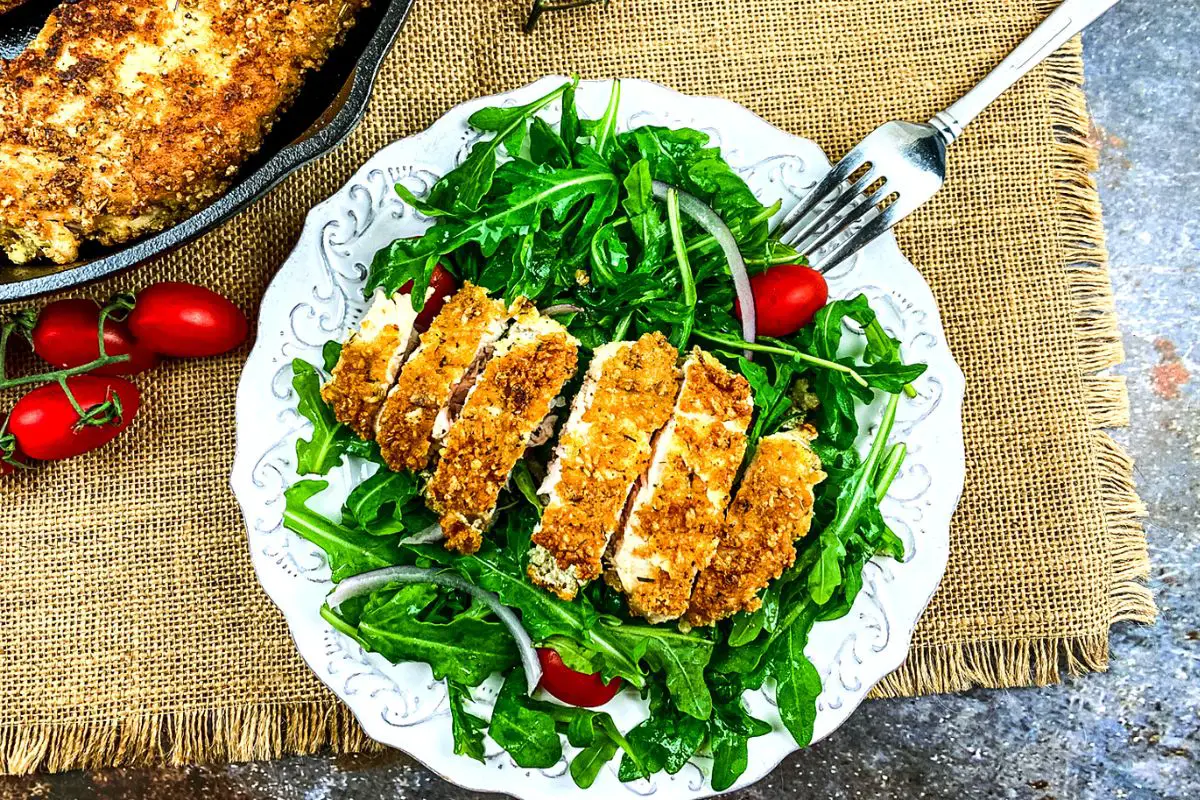
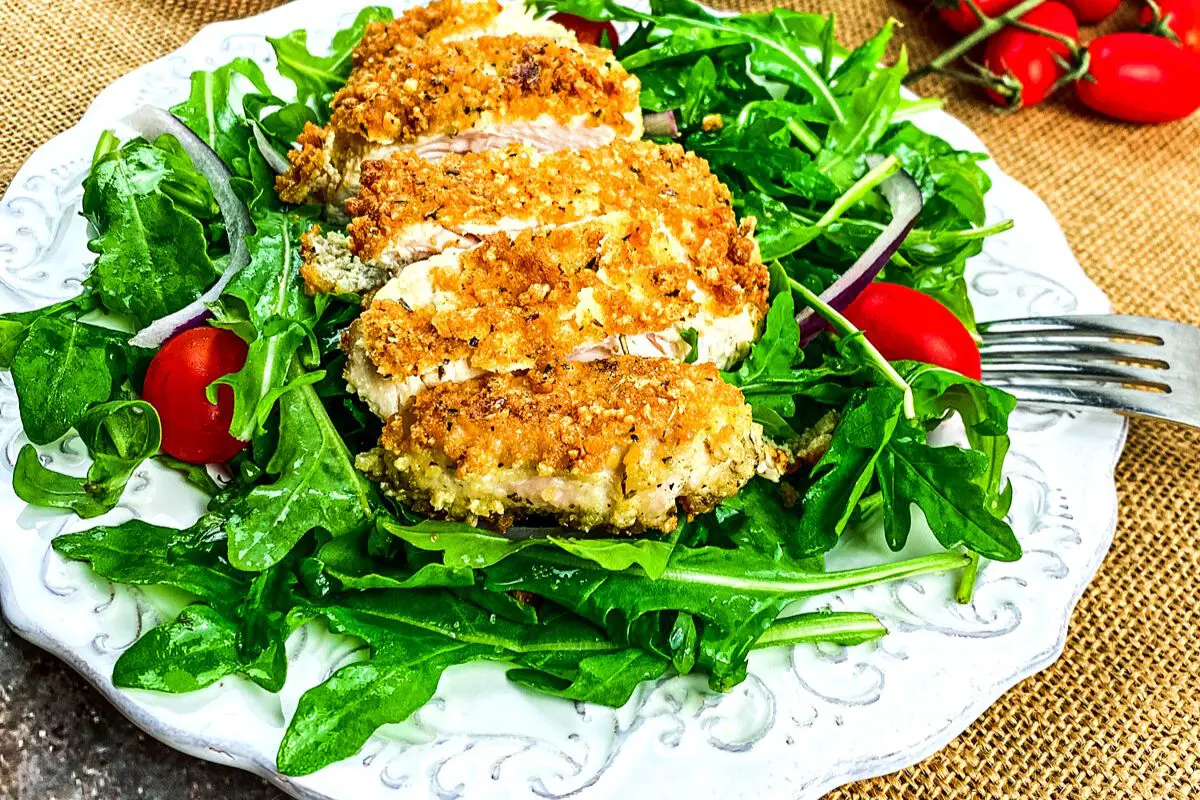
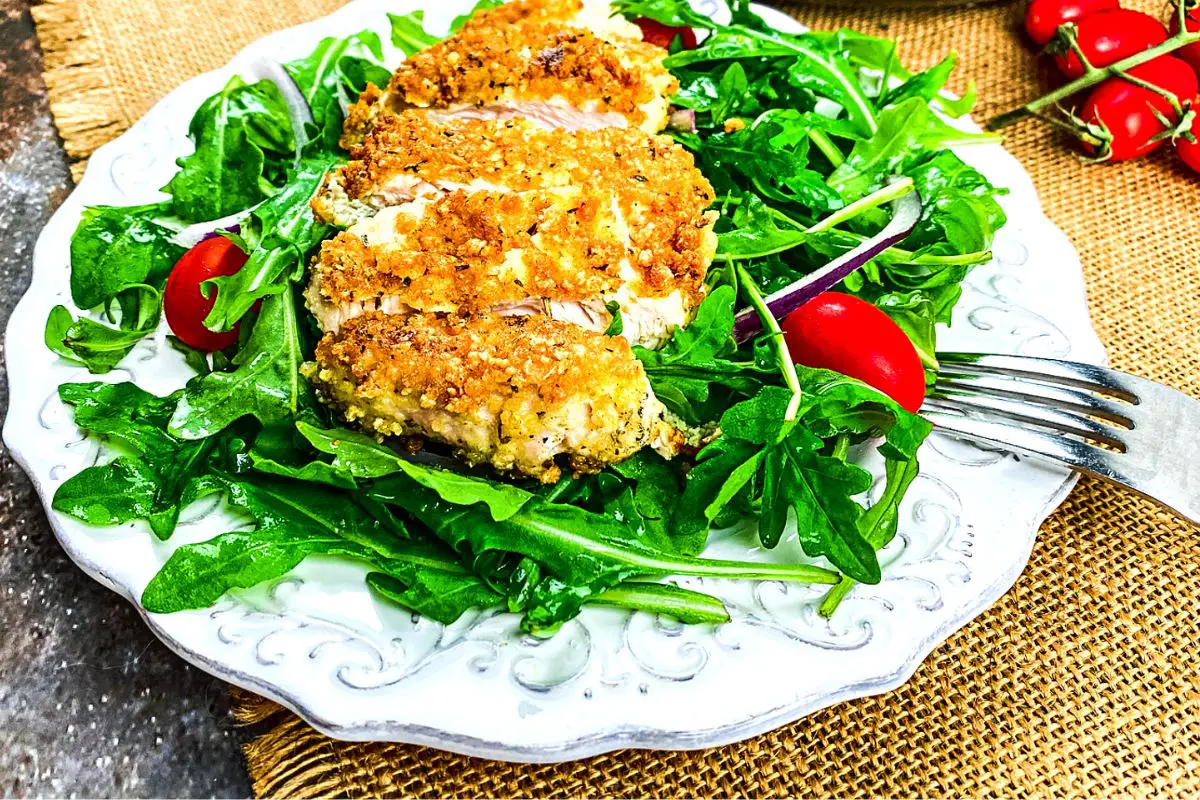
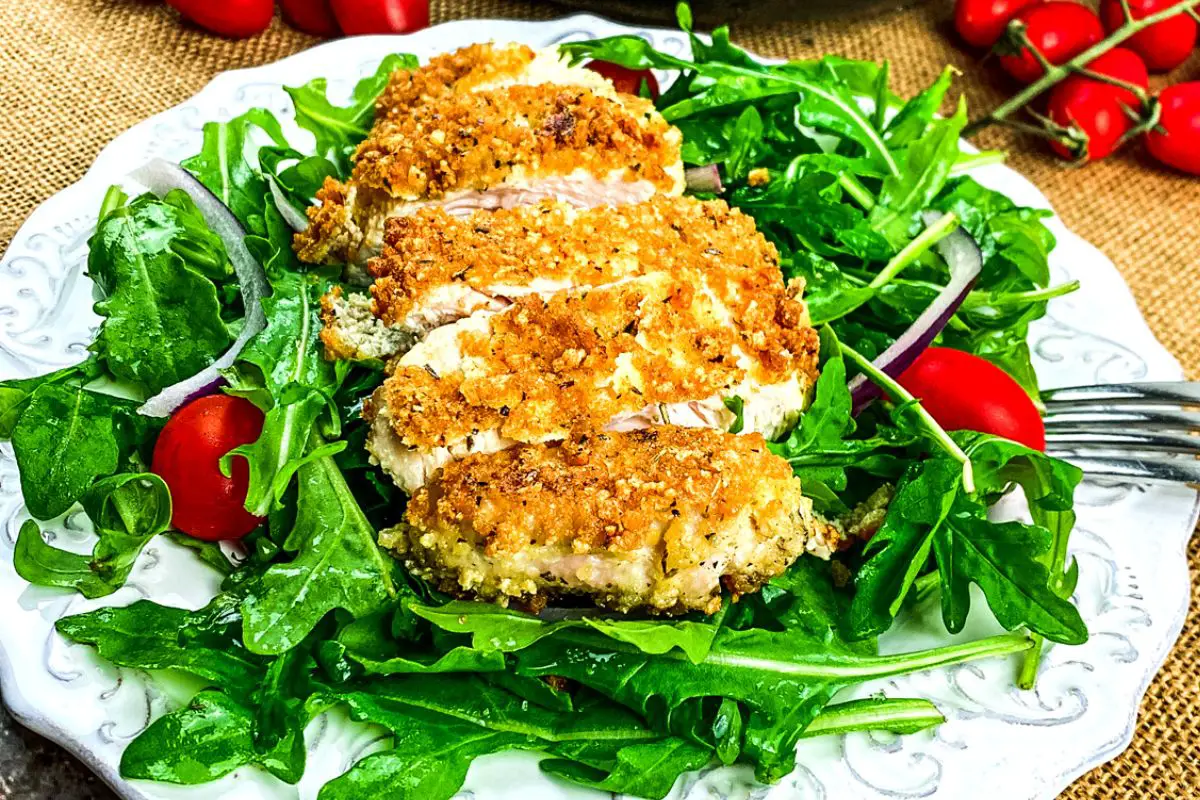
- Remove from heat and transfer the cutlets to the wire rack with the first batch. Allow chicken to rest for 5 minutes. Slice and serve immediately with your choice of sides or over a mixed green salad. Enjoy!
Variations
Get ready to spice up your dinner routine with some delicious variations to the classic Cheesy Gluten-Free Chicken Cutlets! For a Mediterranean-inspired dish, try adding some sun-dried tomatoes and kalamata olives to the cheese mixture. Looking for something with a little kick? Add some diced jalapeños to the mix for a Tex-Mex twist. Feeling fancy? Top your cutlets with sautéed mushrooms and a drizzle of truffle oil. The possibilities are endless with this versatile recipe, so get creative and have fun experimenting with different flavors and ingredients. Your taste buds will thank you!
Equipment
Storage
Are you looking to meal prep for the week ahead or wondering how long your leftovers will survive in the fridge? The answer for Cheesy Gluten-Free Chicken Cutlets is surprisingly simple! Keeping them stored in an airtight container, these delicious cutlets can last in the fridge for up to 3-4 days. These crispy chicken cutlets are perfect for a quick meal or even a satisfying snack, so don't hesitate to make a whole batch and enjoy them throughout the week. With their delicious cheesy flavor and easy storage, these cutlets make for the perfectly convenient and tasty meal.
Top tip
If you're considering making Cheesy Gluten-Free Chicken Cutlets, you're in for a tasty treat! Here are some top tips to make your dish a hit. First, use almond meals instead of regular breadcrumbs to keep it gluten-free. Next, add lots of flavorful herbs and spices, like garlic powder, oregano, and paprika, to the mixture for an extra kick. For cheese, go for a blend of mozzarella and parmesan for rich, gooey goodness. Finally, don't skimp on the cooking time – be patient and let them cook until they're golden brown and crispy. With these tips in mind, you're sure to have a new family favorite on your hands!
Related
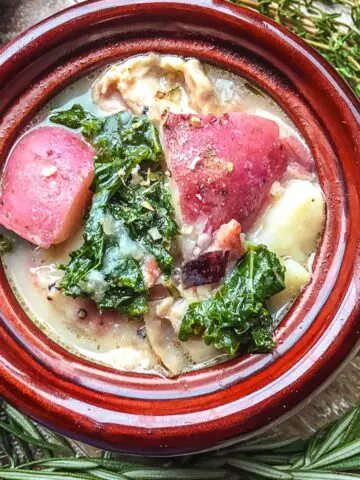
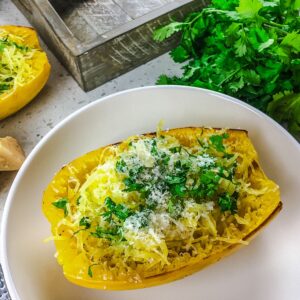
Looking for other recipes like this? Try these:
Pairing
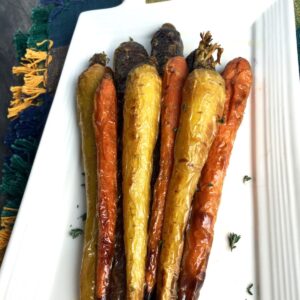
These are my favorite dishes to serve with [this recipe]:

Cheesy Gluten-Free Chicken Cutlets
- Total Time: 0 hours
- Yield: 4 servings
Description
Are you tired of bland, gluten-free meals? Well, say goodbye to tasteless dinners with these Cheesy Gluten-Free Chicken Cutlets! With a crispy outside and juicy inside, these cutlets are the perfect combination of savory and cheesy.
Ingredients
4 6-oz. boneless, skinless chicken cutlets
¾ c. almond flour
Sea salt and black pepper, to taste
3 large eggs
¼ c. water
¾ c. gluten-free panko breadcrumbs
¼ c. Parmesan cheese, finely grated
2 t. Italian seasoning
1 c. olive oil, divided*
*For this application, use regular olive oil instead of extra virgin because it has a higher smoke point.
Instructions
-
Add the almond flour, salt, and black pepper to a shallow, wide bowl or pie pan and stir to combine. Set aside.
-
Whisk the eggs together with the water until thoroughly combined and transfer to a shallow, wide bowl or pie pan. Set aside.
-
Pulse the gluten-free breadcrumbs, Parmesan cheese, and Italian seasoning in food processor until fine. Transfer to a rimmed plate or pie pan and set aside.
-
Pat the chicken dry with a paper towel and then dredge each cutlet in the almond flour, then the egg mixture, and finally, the breadcrumbs. Be sure to shake off any excess almond flour and egg before moving to the next step. Press the chicken firmly into the breadcrumb mixture to ensure they are evenly coated on each side.
-
When finished, transfer each cutlet to a wire rack for 5-10 minutes to "set up."
-
Add one-half cup olive oil to a 12" cast iron skillet set over medium-high heat. Working in batches, add two of the cutlets once the oil starts to shimmer.
Tip: For best results, don't do all 4 cutlets at the same time to prevent overcrowding. The excess steam from overcrowding will interfere with the browning process. -
Cook the chicken on one side until golden brown and crispy, approximately 4-5 minutes, before flipping. As soon as each breast is flipped, reduce heat to medium and cook on second side about 5 minutes or until the chicken is cooked through.
-
Remove from heat and transfer the cutlets to a wire rack set inside a rimmed baking pan and gently remove excess oil with paper towels.
-
Carefully drain used olive oil from skillet and wipe excess with a paper towel. Add remaining olive oil to skillet and repeat process with the remaining chicken cutlets.
-
Remove from heat and transfer the cutlets to the wire rack with the first batch. Allow chicken to rest for 5 minutes. Slice and serve immediately with your choice of sides or over a mixed green salad. Enjoy!
- Prep Time: 20 minutes
- Cook Time: 25-30 minutes






Leave a Reply
You must be logged in to post a comment.